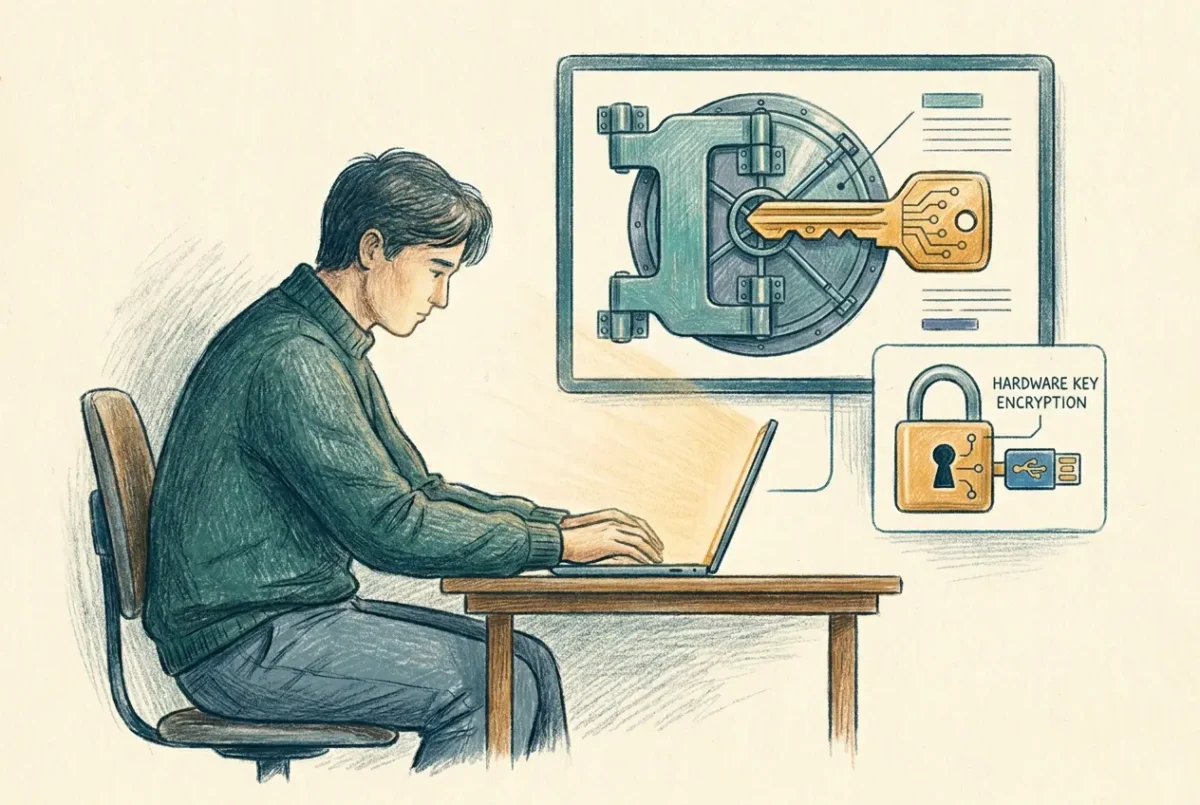

BitLocker policy in Intune looks straightforward until you try to deploy it silently and it doesn’t work. The settings that control silent encryption are non-obvious, the policy type matters more than most people realize, and hybrid joined devices behave differently from Entra joined ones. Get the design right before you assign to production.
Policy type matters
The first decision is which policy type to use. Intune offers BitLocker configuration through the Settings Catalog, through Endpoint Security Disk Encryption profiles, and through the older Device Configuration Templates (Endpoint Protection). The right choice for silent encryption is the Endpoint Security Disk Encryption profile.
Microsoft’s own documentation is explicit on this: the Settings Catalog doesn’t include the TPM startup authentication controls required for reliable silent BitLocker enablement. If you configure BitLocker through Settings Catalog and expect silent encryption, you’ll get inconsistent results. Use Endpoint Security for BitLocker. OIB follows this pattern – the encryption policy ships as an ES profile, not a Settings Catalog policy.
Prerequisites for silent encryption
Silent BitLocker encryption – where the drive encrypts without any user prompt or interaction – requires specific conditions to be met on the device. If any of these aren’t in place, silent encryption won’t trigger and you’ll either get a user-facing prompt or no encryption at all.
The device must be Entra ID joined or hybrid Entra ID joined. It must have a TPM – version 1.2 at minimum, 2.0 recommended. The BIOS mode must be Native UEFI, not Legacy, with Secure Boot enabled, and the Windows Recovery Environment must be configured and available: reagentc /info on the device tells you which, and reagentc /enable fixes the common case. The drive must not already be encrypted with third-party software. And if the user is a standard user rather than a local admin, Windows 10 version 1809 or later is required; admin users need 1803 or later. Modern hardware running Windows 11 will meet all of these by default. Older hardware may not.
Check your device inventory before deploying silent encryption broadly. Devices that don’t meet the prerequisites will not silently encrypt – they’ll either prompt the user or fail silently, depending on your policy configuration. Finding that out in production is worse than finding it in pilot.
The settings that unlock silent encryption
Within the Endpoint Security Disk Encryption policy, three settings control whether encryption happens silently.
Allow Warning For Other Disk Encryption must be set to Disabled. Despite the counterintuitive name, disabling this warning is what suppresses all user-facing encryption prompts and enables silent operation. When this is enabled – the default – users see a warning dialog. When disabled, encryption proceeds silently. Setting this to Disabled also automatically backs up the OS drive recovery key to the user’s Entra ID account.
Allow Standard User Encryption must be set to Enabled. Without this, silent encryption only works when a local administrator is signed in. In a standard user environment – which is where you should be – this setting is what allows the policy to encrypt drives regardless of who’s logged in.
Compatible TPM startup PIN and Compatible TPM startup key must both be set to Blocked. If either is set to Allowed or Required, the encryption flow requires user interaction to set the PIN or insert the key. That breaks silent encryption. TPM-only authentication is required for silent operation.
Silent encryption fails silently. If your policy isn’t encrypting devices, check these four settings before assuming a hardware or infrastructure problem.
Encryption cipher
Use XTS-AES 256-bit for OS drives and fixed data drives. XTS mode is specifically designed for disk encryption and provides better protection against manipulation attacks than CBC mode. 256-bit keys satisfy most compliance requirements and the performance difference from 128-bit is negligible on modern hardware. For removable drives, AES-CBC 256-bit is appropriate – XTS isn’t supported on removable media due to compatibility requirements with older systems.
Note that silent encryption overrides the encryption type setting. When BitLocker encrypts silently, it uses full disk encryption on non-modern standby devices and used space only encryption on modern standby devices – based on hardware capability, not your policy preference. This is a Windows behavior, not an Intune limitation. If you need a specific encryption type enforced, you can’t rely on silent encryption to honor it.
Recovery key management
Configure the policy to require recovery key backup to Entra ID before encryption proceeds. This is the setting that prevents a scenario where a device encrypts successfully but the recovery key is never escrowed – leaving you with an encrypted device you can’t recover if something goes wrong. Set it to require backup, not just allow it.
On the recovery key type for OS drives, the CIS Intune Benchmark and OIB both recommend setting this to “Do not allow 256-bit recovery key.” The rationale is that 48-digit numerical recovery passwords are the more universally compatible format – some recovery tools and AD backup mechanisms handle the 256-bit key format inconsistently. OIB updated to this setting in v3.7 to align with CIS recommendations. If you’re deploying OIB, this is already handled. If you’re building policy from scratch, follow the same recommendation.
Enable client-driven recovery password rotation. When this is configured, the recovery key automatically rotates after it’s used. This matters operationally – when a user calls the helpdesk and you read them the recovery key to unlock their device, that key is then compromised. Rotation invalidates the old key and generates a new one after use, closing that window. Configure it for both Entra joined and hybrid joined device states.
Recovery keys are retrievable from Intune via the device record – Devices → the specific device → Recovery keys. Anyone with the right Intune role can pull the key when needed. This is also the source of truth you point your helpdesk at when a user calls with a BitLocker recovery prompt.
Hybrid joined device considerations
Hybrid Entra ID joined devices have a different recovery key backup behavior with the Disk Encryption policy type. The policy attempts to back up recovery keys to both Active Directory and Entra ID. If the device can’t reach a domain controller at the time of encryption – which is common for remote devices – the AD backup may fail, which can cause the entire encryption process to fail or behave inconsistently.
For hybrid environments, using the Device Configuration Template (Endpoint Protection) rather than the Endpoint Security Disk Encryption profile gives you more explicit control over the recovery key backup destination. This lets you configure Entra ID backup independently of the AD backup requirement. If you’re running a hybrid environment and seeing inconsistent BitLocker behavior, the policy type is worth reviewing.
Verifying encryption status
Intune’s Device encryption status report gives you a fleet-wide view of encryption state – how many devices are encrypted, how many have pending encryption, and how many have policy errors. This is under Devices → Monitor → Device encryption status. Review it after deploying to pilot, and again after deploying to production. Devices that appear as not encrypted after policy should have applied are worth investigating individually – the device record will show whether the policy reached the device and what the reported state is.
BitLocker status also feeds into compliance policy. If your compliance policy requires encryption, devices that aren’t encrypted will report non-compliant and – once Conditional Access is in place – may lose access to resources. Make sure BitLocker is encrypting reliably before enabling the compliance check that enforces it.
This article covers the design decisions behind BitLocker in Intune. OIB implements these decisions in its ES Encryption policies – two separate profiles, one for the OS disk and one for fixed data drives, keeping them modular and independently assignable. If you’re deploying OIB, treat the OIB JSON as the authoritative settings reference and use this article for the reasoning behind those settings. If you’re building policy from scratch, the principles here apply directly.
Intune Deployment Guide · Phase 5: Windows Security Configuration
‹ Previous: [5.3] Endpoint Security Policies: BitLocker, LAPS, Firewall, and ASR
Next: [5.3.2] ASR Rules: Staged Enforcement From Audit to Block ›